My mom and dad always made two desserts that I love this time of year (fall): pumpkin pie and cheesecake. So why not combine these two family traditions into a two-layer version. It sounded yummy to me, so I started with the pumpkin pie recipe that Mom always used and the cheesecake recipe that Dad used. Then my task was to figure out how to make a dessert with a bottom layer of cheesecake and a top layer of pumpkin pie. But the baking temperatures were different, and I was worried about the pumpkin layer sinking into the cheesecake layer. With these challenges in mind, I headed to the kitchen to experiment.
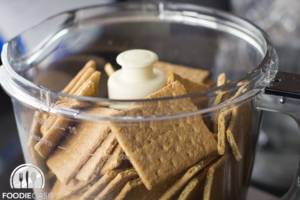
After checking the pantry and realizing I didn’t have a box of graham cracker crumbs for the crust, the first step was to crush some graham crackers. Luckily, we almost always have those around because they are one of Jeff’s go-to snacks. So, I took some from his snack pile and placed them into the food processor.
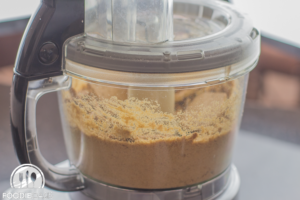
Then I pulsed the food processor to create the crumbs. You can see that I made more than the 1 2/3 cups that Dad’s recipe called for, but it will save time for the next recipe that uses them.
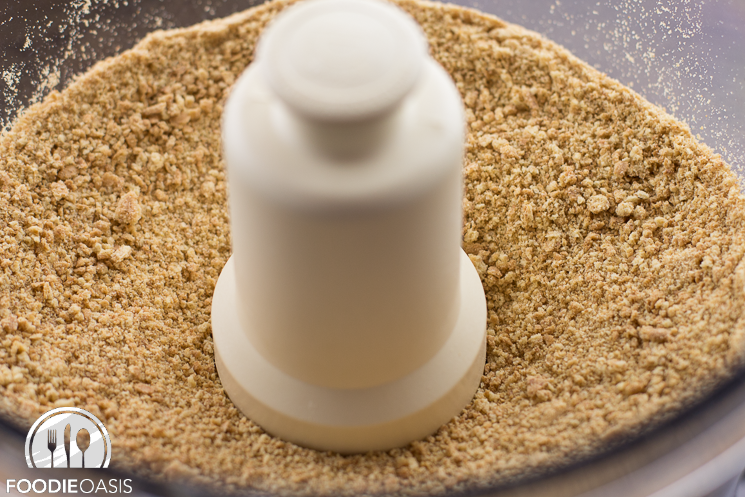
As you can see, the food processor did a great job of creating the fine crumbs for the crust. But if you don’t have a food processor, you can put the graham crackers in a plastic bag and crush them with a rolling pin, mallet, frying pan, or similar tool.
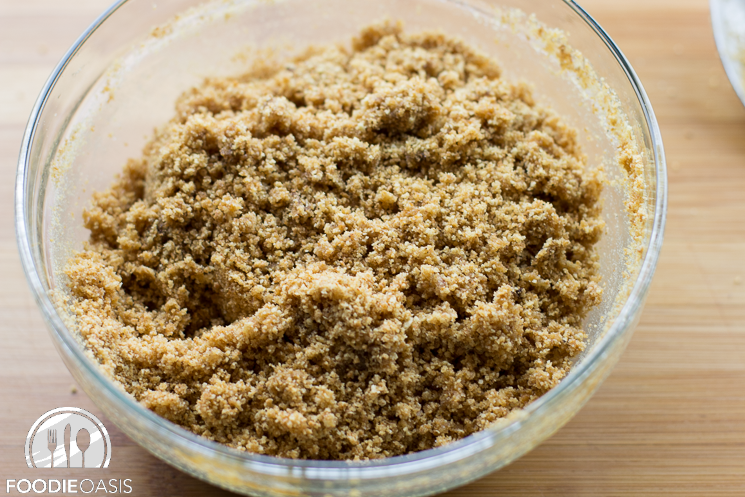
Following Dad’s cheesecake recipe, now it was time to combine the graham crackers with cinnamon, sugar, and melted butter.
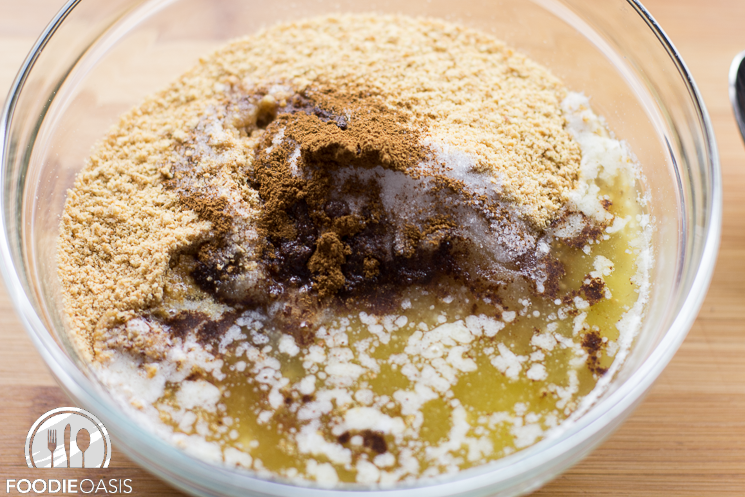
When the ingredients are mixed together, the result has a moist sand-like consistency.
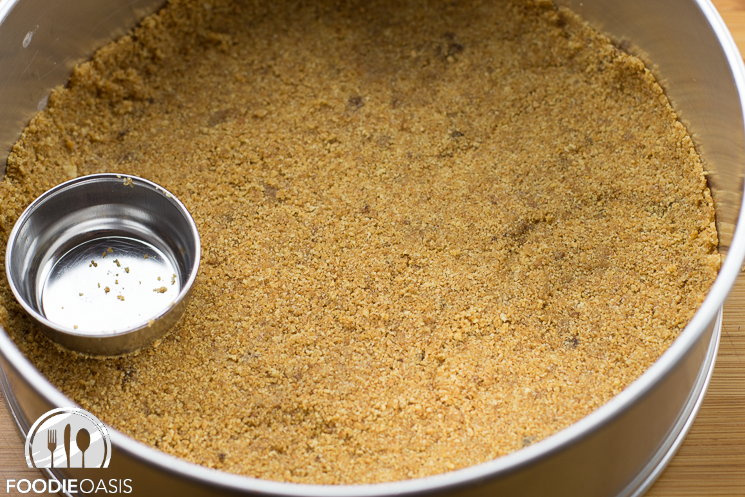
Then I transferred the moist graham cracker mixture to the springform pan and gently pressed it into place.

I found that using a small measuring cup helped me get an even thickness for the crust and also helped to press a little of the mixture up the sides to finish off the crust and ensure that the cheesecake mixture would not seep underneath.
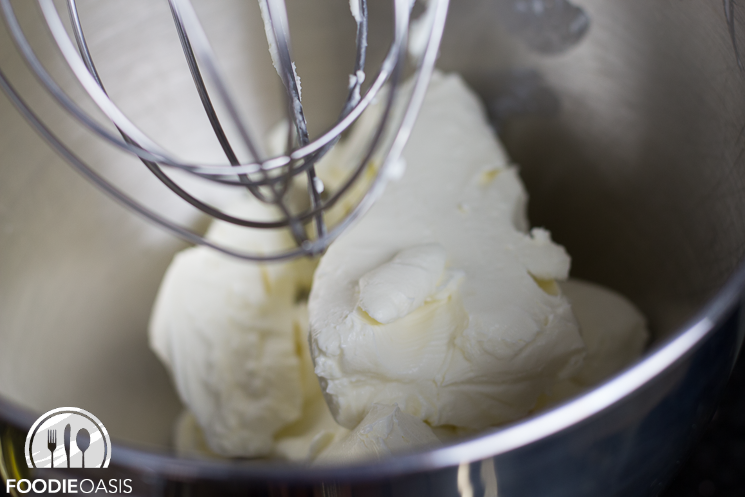
I couldn’t wait to work on the cheesecake layer. I had let three 8 oz., packages of cream cheese come to room temperature.
I added sugar, eggs, and vanilla to the mixing bowl.
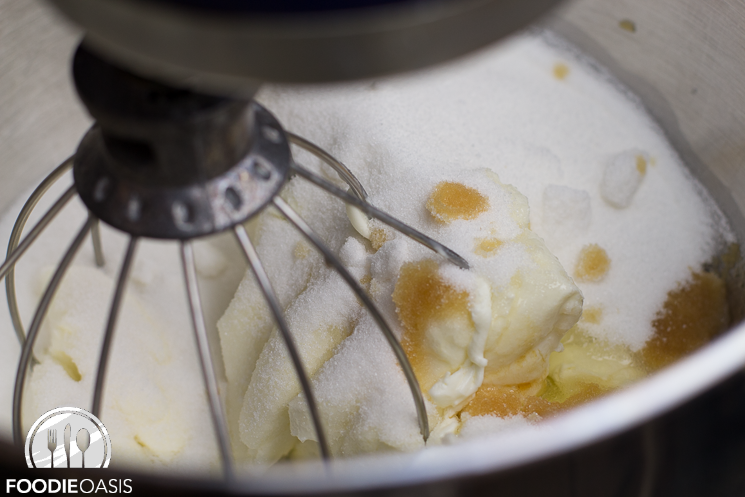
Then I turned on the mixer, and it began combining these luscious ingredients.
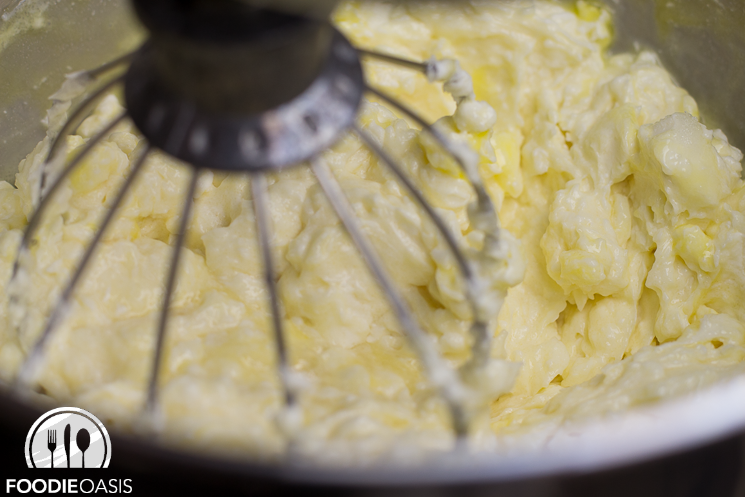
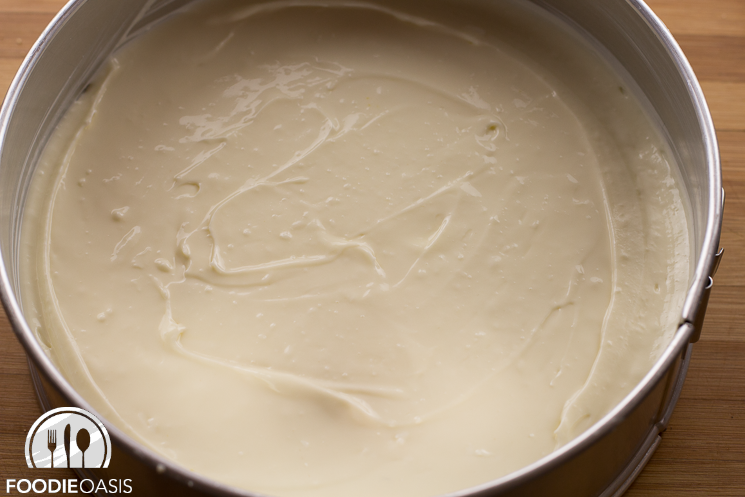
After mixing the ingredients until they formed a smooth filling, I poured the filling on top of the graham cracker crust. I used a spatula to spread the filling and create an even layer of the cheesecake mixture.
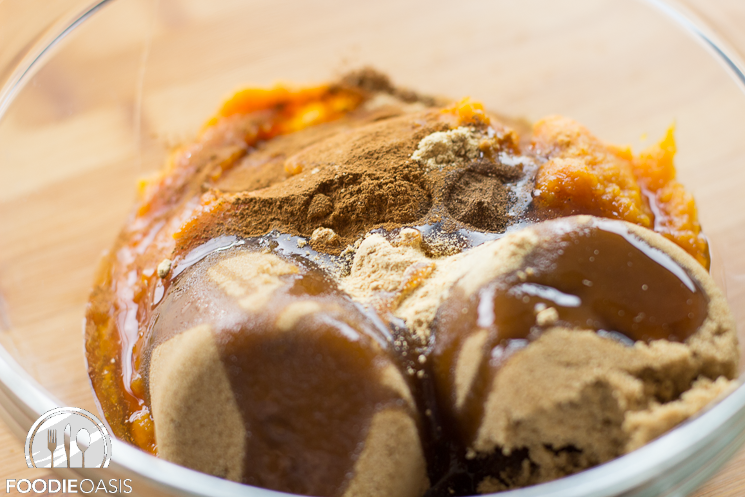
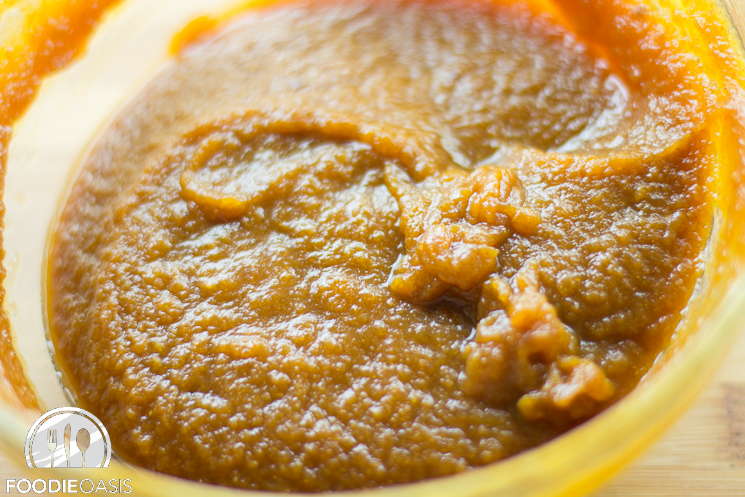
Now for Mom’s pumpkin pie! It is a simple recipe too. I combined pumpkin pure, cinnamon, ginger, allspice, salt, brown sugar and dark corn syrup (you can substitute molasses if you prefer).
After mixing these ingredients, I added slightly beaten eggs and milk.
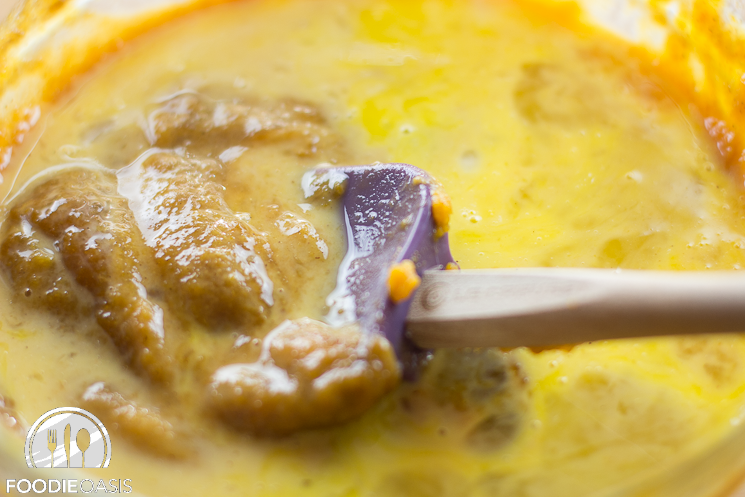
I stirred until the eggs and milk were thoroughly incorporated into the pumpkin mixture.
But now it was time for the first real challenge in this process. Up to now, I had just been following the recipes Mom and Dad had given me. But how was I going to get the pumpkin layer to stay on top of the cheesecake layer. I had to hope that the cheesecake layer was dense enough that it would support the pumpkin pie layer. Holding my breath, I started gently pouring the pumpkin pie mixture on top of the cheesecake layer.
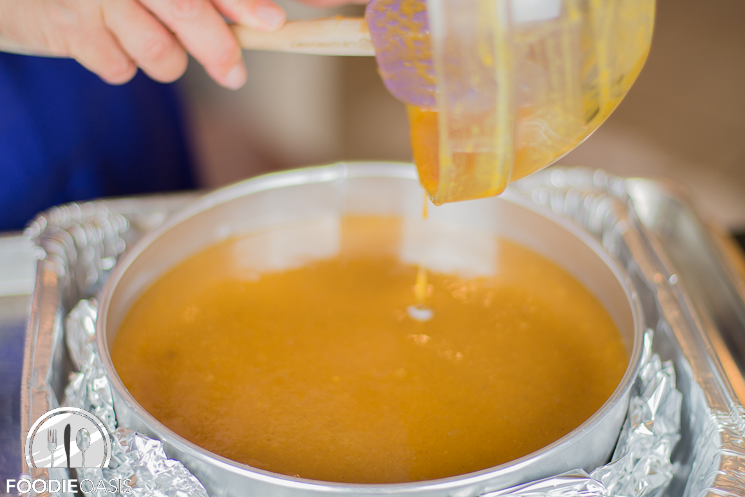
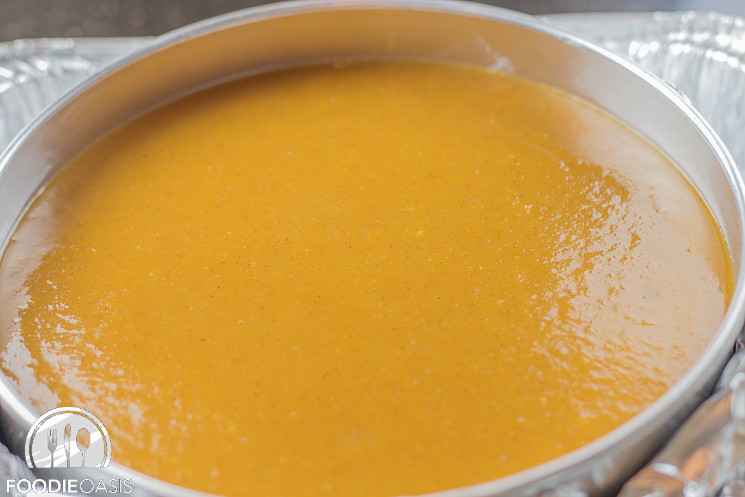
So far, so good. The pumpkin layer seem to be staying on top. Of course, I wouldn’t know if it really worked until I cut into finished the pumpkin cheesecake. But that is why we experiment, right. It wouldn’t be an experiment if we already knew it would work.
Now on to the next major challenge. Mom’s pie needed to cook for 35 to 40 minutes at 425 degrees, but Dad’s cheesecake needed to cook at 375 degrees for 40 minutes. While the times agreed, the temperatures were entirely different, and I was working with a pie/cake that was twice as thick as contemplated by either recipe. I decided it was safer to go with the lower temperate and just plan to cook it longer. As you can probably tell from the images, I also decided to cook the pumpkin cheesecake in a water bath. While Dad did not cook his cheesecake that way, it is a common technique that I hoped would help even the cooking for the two different layers.
Sure enough, it took a little over an hour to bake (closer to 1 hour, 15 minutes). I knew that at least the pumpkin pie layer was done because following Mom’s recipe, I inserted the tip of a knife into the center of the pie layer, and it came out clean. I just had to hope that the cheesecake layer was not overcooked given the extended cooking time required for the pumpkin pie layer.
Now the final challenge was patience because I had to let the pumpkin cheesecake cool slightly before removing it from the springform pan and then it had to chill completely before I dared to cut it. But at least it looked good—making the patience part even harder. I was dying to try it.
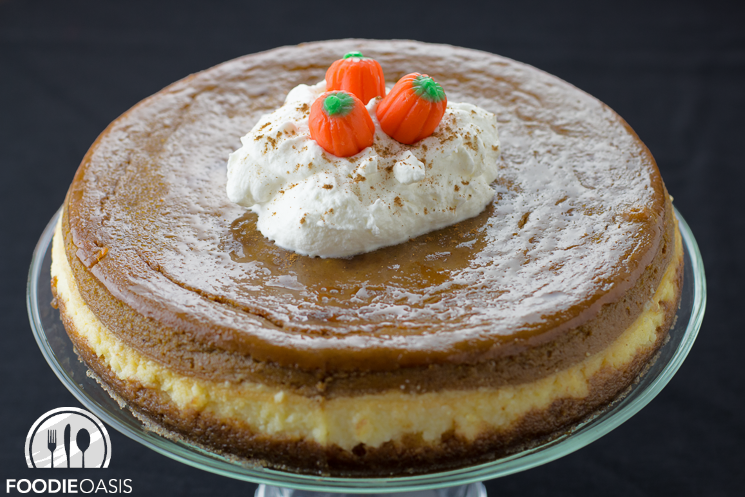
Finally, it was time to cut into the pumpkin cheesecake.
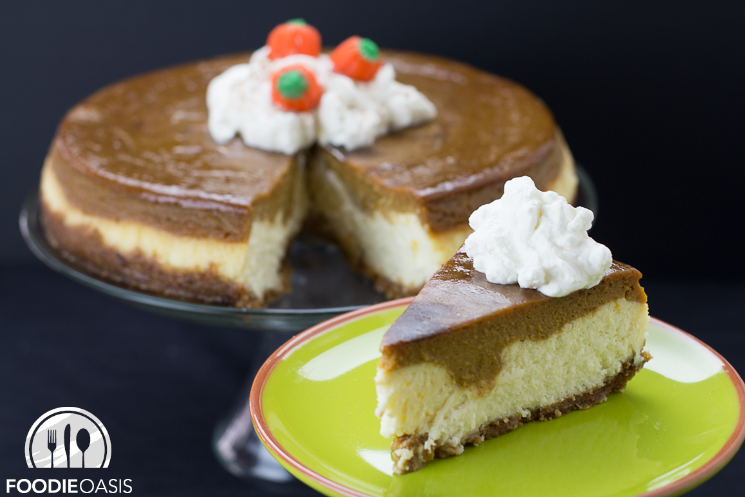
I was so excited to see that the two layers had remained separate! You can see that in one place the pumpkin sank a little further into the cheesecake. I realized that had been the spot where I poured the first pumpkin and the weight must have allowed it to sink further than in the other places. If I want a more even pumpkin layer, next time I will spoon the pumpkin mixture over the cheesecake layer instead of pouring it. Nevertheless, it still was very pretty, and my mouth was watering anticipating the first bite. But I must admit that I was still scared that the cheesecake might be dry from the longer cooking time.
Fork in hand, I took a big bite and was in heaven! I couldn’t believe that I had successfully combined the two family traditions. The pumpkin pie layer tasted just like Mom’s and the cheesecake brought back wonderful memories of Dad. Together, the combined creaminess and flavors were amazing, and the cheesecake was not dry!
For the Pumpkin Cheesecake Recipe click here
I would love to hear about how you combine your family traditions this time of year. Happy Thanksgiving!
© 2014 FoodieOasis