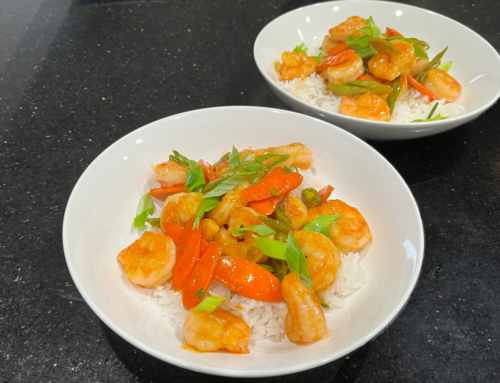
We were so excited that Jeff’s sister, Debbie, got to visit us in San Diego recently. She has been so supportive of my blog, so one night we asked her if she was interested in participating in one of our cooking and photo sessions! I was thrilled when she said “yes”!
Just in case Debbie said “yes”, I had been thinking about what we would cook and remembered a recipe that my mom often made for company. It was a recipe I knew that Jeff loved—Shrimp Creole. This old family recipe is fairly easy to make because once you assemble the ingredients, you just need to let them simmer for awhile. I always thought it looked a lot fancier than the amount of effort it takes. This made it the perfect recipe after a day of sailing and sightseeing around town.
Of course, I couldn’t just leave the recipe in its traditional form. As you probably have figured out by now, I like to experiment, and I had been thinking about making a few changes to this recipe for a little while. Debbie’s willingness to participate in our adventure made this the perfect night to try out my new ideas. Besides, I figured family would be forgiving if the changes didn’t turn out so well. 🙂
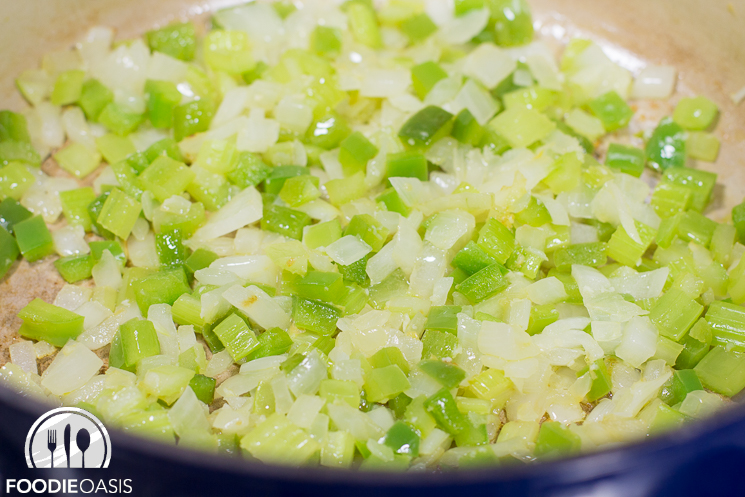
I started by sautéing onion, celery, and green pepper in olive oil. While celery was not in the family recipe, it is part of what is often called the holy trinity (onion, celery, and green pepper) in New Orleans-style cooking, so I thought it belonged in our Shrimp Creole. The holy trinity is the New Orleans (some would say Cajurn and/or creole) version of mirepoix, which in French cooking includes onion, celery, and carrots. Usually, these vegetables are combined using two parts onion to one part celery and one part carrots or green pepper.
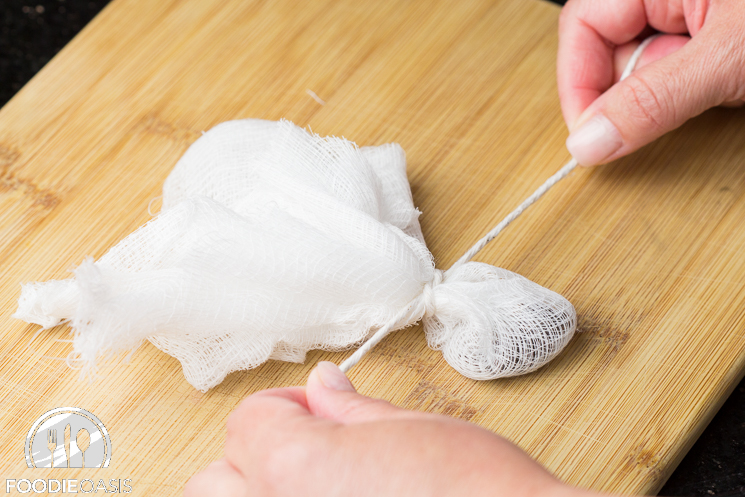
While the veggies were sautéing, I wrapped whole cloves in cheesecloth. I just folded the cheesecloth to form two or three layers. Then I cut a square large enough to hold 8 cloves and still tie it into a little bundle. The reason for this step is that you have to remove all of the cloves before you serve the Shrimp Creole so that no none gets an overload of clove flavor or, even worse, breaks a tooth. You cannot imagine how hard it is to find and remove the cloves from a big pot of sauce if you just throw them in! Believe me, I used to spend forever on this step until I realized that I should just encase the cloves in cheesecloth (like you would do for a bouquet garni) and avoid the hassle.
I keep kitchen string handy, so I cut off a short string and tied the cloves into a small bundle.
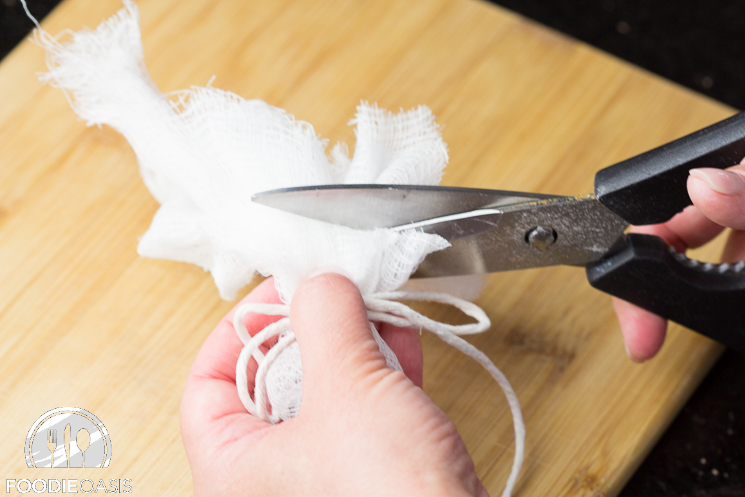
As you can tell from the photo, I made my cheesecloth square a lot bigger than it needed to be, so I used kitchen shears to trim off the top.
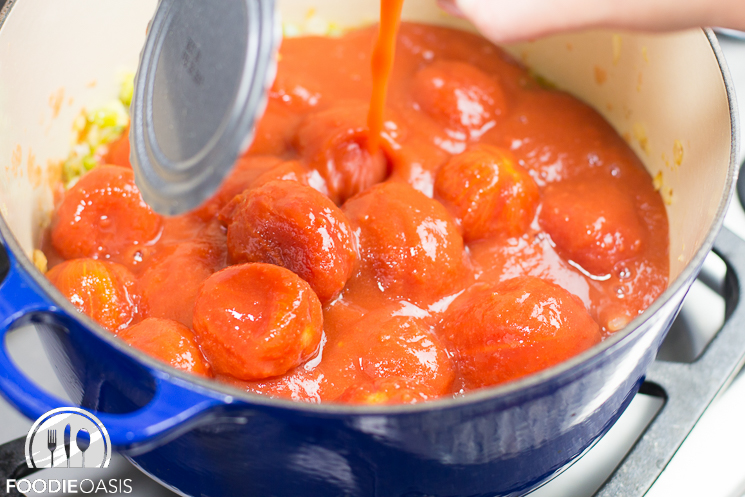
Now for the tomatoes! I added two large cans of whole tomatoes, along with the juice. I prefer the San Marzano tomatoes. Canned San Marzano tomatoes are often from Italy, but other countries produce and can some as well. These tomatoes are similar to plum tomatoes but typically have fewer seeds and are considered to have a stronger and sweeter flavor while being less acidic. Note that you will pay a premium for these canned tomatoes. I think it is worth the difference, but if you need to save money or can’t find them, then you can use any brand of whole tomatoes.
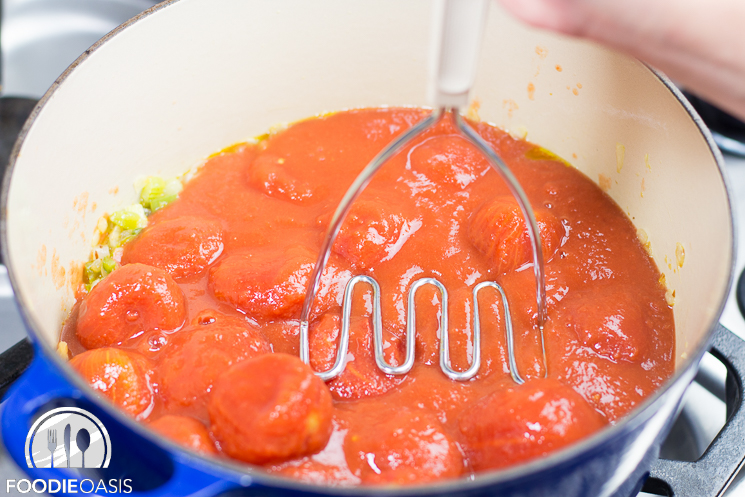
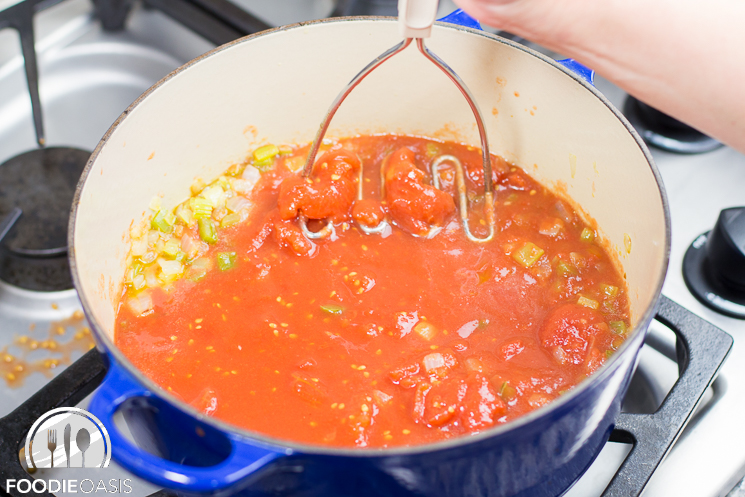
I like the creole to be on the chunky side rather than smooth, so it is important to break up the tomatoes without pureeing them. A potato masher works great, but it is messy. Be careful not to splash tomato juice everywhere! In other words, don’t wear a shirt that you treasure. It may end up covered in tomato juice. I seem to always forget this warning and get splattered. 🙂
It is important to keep mashing until the tomatoes are really broken up. If you don’t have a potato masher, there are several other options. You can use an even lower-tech method: place the tomatoes on a cutting board and cut them up with a knife being careful to reserve the juice. Alternatively, you can use the high tech method: put the tomatoes in a food processor and pulse them a few times being careful not to over process and accidentally puree them. The reason I prefer the potato masher is that it is a good compromise between the options. I don’t have to clean the food processor, and it is not as messy (assuming I don’t splatter my shirt with tomato juice) as the knife and cutting board method.
Now it was time to add the seasonings to turn this tomato sauce into creole sauce! For a start, I added the bundle of cloves, two bay leaves, and a little salt. Then I added a little sugar to offset the acidity of the tomatoes. I know, you are thinking I just told you that San Marzano tomatoes are less acidic than other whole tomatoes. So you are probably asking why we need the sugar in this recipe. You could leave the sugar out, but even San Marzano tomatoes have some acid, and this sauce cooks for almost an hour which reduces the sauce and will make any acidic flavors more pronounced. Therefore, I prefer to add a little sugar. But feel free to experiment with this for yourself and let me know what you decide.
I also added a little Cajun seasoning to give the sauce some heat and spice! Note that different versions of Cajun seasoning vary a lot in terms of how spicy they are and how much salt they contain. Therefore, I strongly recommend tasting a little of the seasoning before adding it. If it is a really mild spice mixture, then add more than this recipe calls for, but if it is really spicy, stick with the recipe on this one. You can always add more seasoning as the sauce cooks. Just taste the sauce after it has simmered for about 30 minutes. If it is not spicy enough for your taste at that point, then add a little more of the Cajun seasoning mix. But remember, the sauce will continue to reduce and intensify in flavor as it finishes cooking, so be careful not to add too much extra seasoning. You don’t want your guests grabbing for their water glasses to put out the fire! Also, don’t forget to reduce the salt you ad if your seasoning mix has a lot of salt or add a little extra salt, if you are using a salt/sodium free version!
I used the recipe for Cajun seasoning that I posted earlier (click here for the Cajun Seasoning Recipe), but you can also buy Cajun seasoning on the spice aisle at your grocery store, or you can use your own favorite recipe.
Now for a little extra color and flavor—a tablespoon of fresh, chopped parsley.
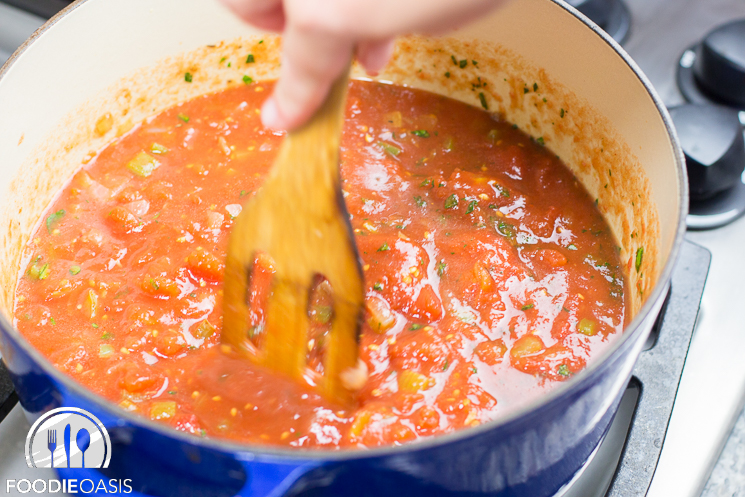
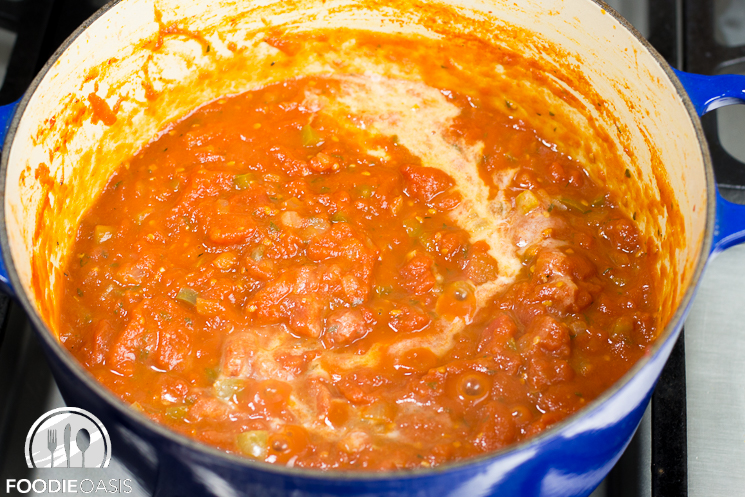
After the mixture came to a boil, I turned it down to a simmer. Now it was time to wait. The sauce needs to thicken slowly, so I let it simmer for 45 to 50 minutes. It is important to stir it occasionally to blend the flavors, see how fast it is thickening and make sure it doesn’t stick.
You can tell it is starting to thicken, and if you had been in our kitchen, you would have been getting hungry because it smells great!
While the sauce was cooking, I cooked some rice. I like white rice, which is rather traditional with this dish, but you could use your favorite rice or even pasta. I allowed about 1/2 a cup of cooked rice per serving. (Remember, if you want sticky rice, don’t rinse it before cooking. But if you want fluffier rice, rinse the rice with water and drain it before adding it to the boiling water. The photo below shows the fluffier version.)
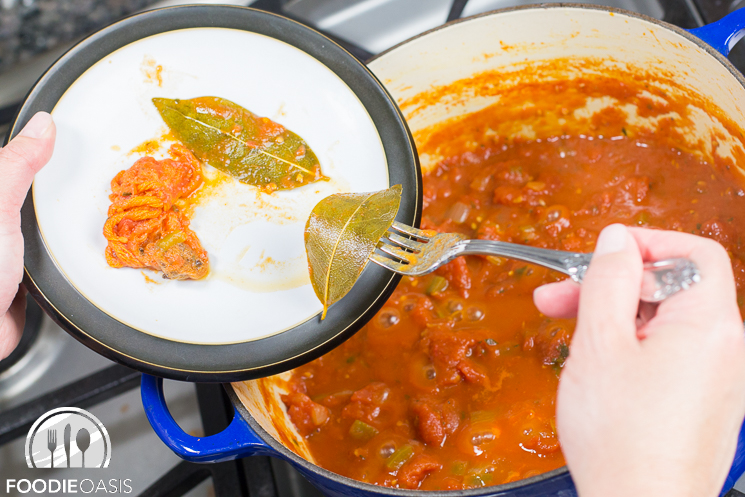
After about 45 minutes, the sauce was a deep red and had gotten thick, so it was time to remove the bundle of cloves and bay leaves. Aren’t you glad we put the cloves in the cheesecloth bundle? I sure was.
The next step was to mix a little flour with water to make a slurry to finish thickening the creole.
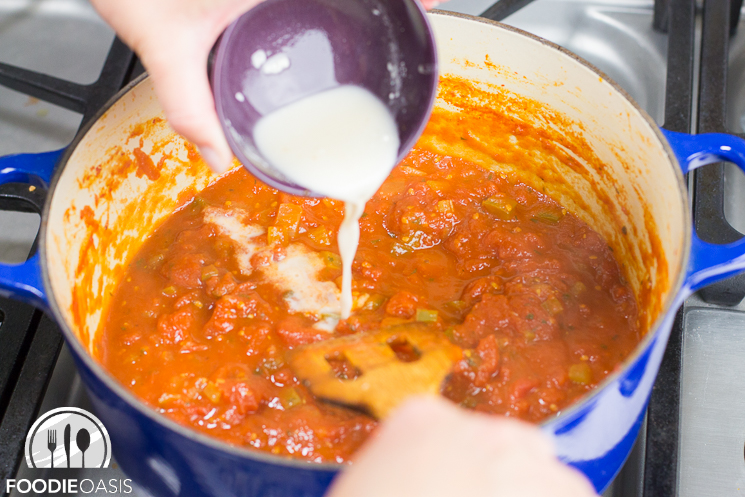
I poured the water/flour mixture into the sauce. By making a slurry, which is just a smooth mixture of the flour and water, it prevents the flour from causing the sauce to be lumpy.
Then I started stirring the mixture and let it cook 5 to 10 minutes to let the sauce finish thickening. For the slurry to thicken the sauce, I made sure that the sauce got hot enough that a few bubbles were forming.
Then I turned the sauce back down to the lowest heat setting.
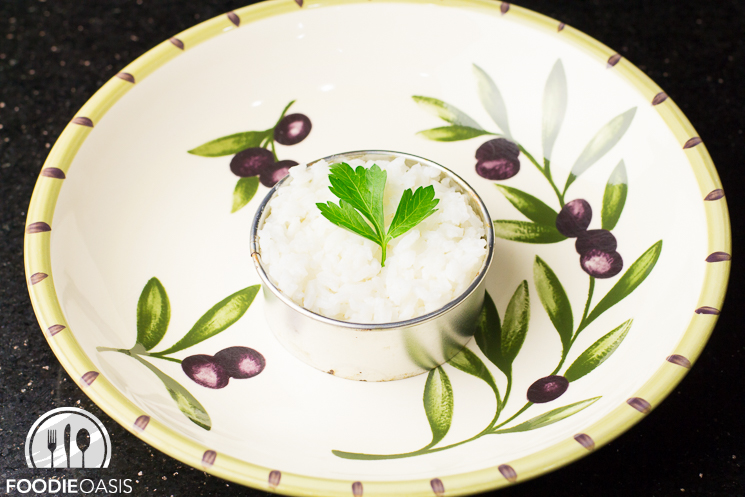
Now it was time to think about plating. I decided that a low bowl, such as a pasta bowl would be perfect. The goal was to put the rice in the center and surround it with the beautifully thick, red creole sauce. I selected a 3 inch round cookie cutter and placed it in the center of the pasta bowl as shown in the photo below. Then I placed about 1/2 a cup of rice in the center of the cookie cutter, gently pressing it to make sure it would hold its shape when I pulled the cookie cutter out. Of course, you can just put a scoop of rice in the center for a more free-form effect.
Right before I was ready to serve the creole, I added the uncooked shrimp to the barely simmering sauce. No one likes overcooked, rubbery shrimp, so it is really important not to overcook it. This time I was using large shrimp (about 26 to 30 shrimp per pound), so I made sure not to cook them more than two minutes. If you use smaller shrimp, they will cook even faster. Set a timer for 1 minute and check them. You will not believe how fast the time goes by!
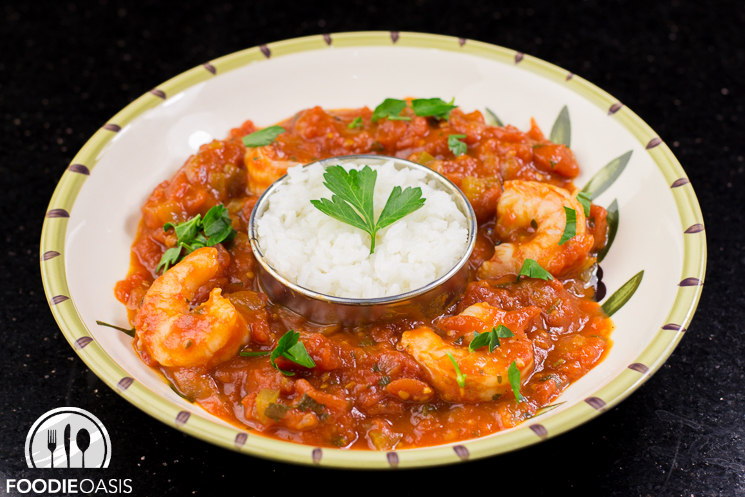
As soon as the shrimp was barely cooked (2 minutes after they hit the sauce), I removed the sauce from the heat. Note the sauce is so hot that the shrimp keep cooking a little even after you turn off the heat, so I quickly ladled some of the shrimp creole around the rice.
Now for the test. Would the rice stay in place when I pulled the cookie cutter out? I must admit that I made a sticky version of rice (no rinsing) to help ensure the rice behaved itself and stayed in place, but you still never know until you remove the metal ring. When I gently pulled the metal cutter out of the bowl, it was a success! I think that even the fluffier rice would have been sticky enough to work, but I had not been willing to risk it.
After adding a shrimp on top, the Shrimp Creole was ready to serve!
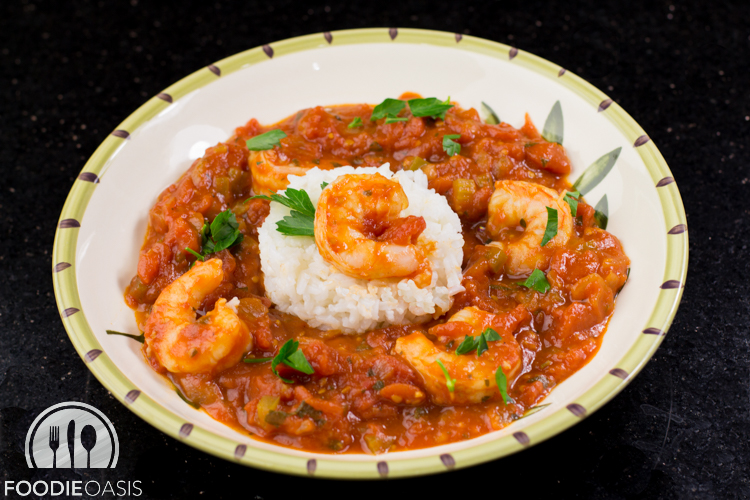
Debbie and Jeff seemed to like it. I hope you will give it a try and let me know what you think.
Click here for the Shrimp Creole Recipe!
On a related note, the weekend after Debbie visited, our neighbors invited us over for some absolutely delicious chicken and Tasso ham jambalaya. (Who knows, maybe we can talk Karen into sharing her jambalaya recipe. It was amazing.) After we got home, Jeff started quizzing me about the differences between creole and jambalaya. While I don’t consider myself an expert—after all, I grew up in Texas rather than Louisiana—I still have a basic understanding of some of the differences, and his questions prompted me to research it a little more. So just in case you are wondering the same thing, here is a summary of some the differences. But keep in mind, everyone has his or her own opinion about the meanings of these terms, so there is not necessarily one right answer to this question.
First, this Shrimp Creole recipe differs jambalaya because it is served over rice whereas for jambalaya you cook the rice in the sauce . But even though the name “Shrimp Creole” has become a popular name for this and similar recipes, we should really be discussing the difference between creole cuisine and Cajun cuisine rather than between creole and jambalaya. Jambalaya (with rice cooked in the sauce) can be made using either the Cajun or creole style of cooking. Often you can tell the difference by looking at whether the recipe calls for tomatoes. Creole recipes often use tomatoes whereas traditional Cajun cooking does not. But there are contradictions to that distinction because some “Cajun” recipes use tomatoes. Cajun recipes often use Andouille sausage and/or Tasso ham, which is a spicy and peppery version of smoked pork (not really ham). Cajun recipes are also often spicier than their creole counterparts in part because the tomatoes used in creole recipes add a sweetness to the sauce. All I can say is that both styles are great!
© 2015 FoodieOasis

