When you make your own pie crust, which I highly recommend, it is important to roll the dough out to the right thickness and size for your pie pan, so I thought I would share a few tips. (If you are looking for an easy pie crust recipe, check out this one Easy Buttery Pie Crust.)
First, it is really important to start with dough that has been chilled for at least 30 minutes. By chilling the dough, the gluten will relax a little, which means the dough will roll out easier and won’t shrink as much when it is baked. Trust me on this one. I used to skip this step, but I learned the improved results are worth the chill time. 🙂
Now for the important part. Start by getting your work surface prepped. I like to place a couple of sheets of parchment paper on my counter top as my work surface for rolling out the pie dough. However, you could use a silicon mat, wax paper, or work directly on a stone counter top if you have one. Just make sure you have at least a 12 to 14 inch square space to work.
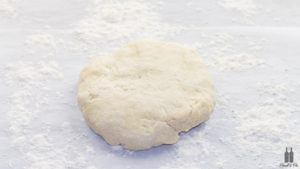
Generously sprinkle the surface with flour (about 1 / 4 cup of flour). Then place the chilled dough on top of it.
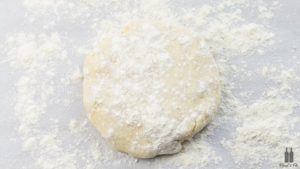
Sprinkle a little more flour on top of the dough.
Now it is time to roll out the dough. This task is easiest with a rolling pin. There are a lot of different types of rolling pins. Some have handles connected to a rod that goes through the long cylindrical portion, and the rolling pin rotates around the rod like the one shown below.

Others rolling pins are just long cylinders that you roll with you hands. Any type will work fine, but recently, I have found one that I really love. It is just a long cylindrical piece of wood, but the diameter of the ends is just a little larger than the diameter of the main portion of the rolling pin (see the video below for an example). This design helps you roll out the dough to a very even thickness. These rolling pins come in different sizes, but for a pie crust the one designed to create 1 / 8 inch thickness is perfect.
The goal is to roll the dough into a somewhat circular shape that is at least 1 inch larger than your inverted, or upside down, pie pan. That means when you put the pie pan upside down on top of the dough, there will be at least 1 / 2 inch of dough showing all the way around the outer rim of the pie pan. Ideally, the dough will be about 1 / 8 inch thick. You want the thickness to be the same across the whole crust so that it will cook evenly.
If a picture is worth a 1000 words, then a video should be work at least a million, right? Well, here is the process in action. I hope you find it helpful!
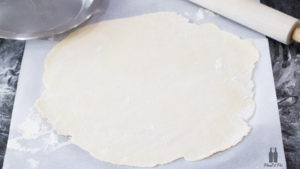
At the end of the rolling process you should have a flat, even pie crust such as the one shown here.
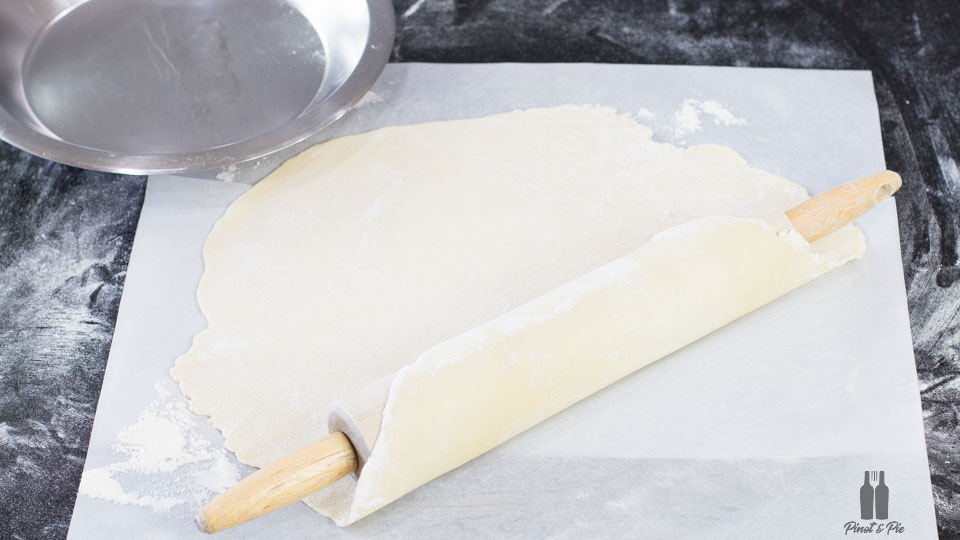
Now for the tricky part—transferring the crust to the pie pan! But don’t worry, it isn’t that hard when you make use of your rolling pin for the transfer. Just roll a little of the dough onto the rolling pin and use that to lift and place the crust across the pie pan. Then gently let the crust fall into the pan so that the crust is not stretched tight. You may need to lift the edges a little to allow more dough to fall into the pan because you want plenty of crust to cover the bottom and sides of the pan without it being stretched.
There are a bunch of different ways to finish the edge. Here is my favorite, probably because my mom taught it to me. Love you mom!!! It is a lot easier to do than it looks, and I think it is really pretty! Take a look.
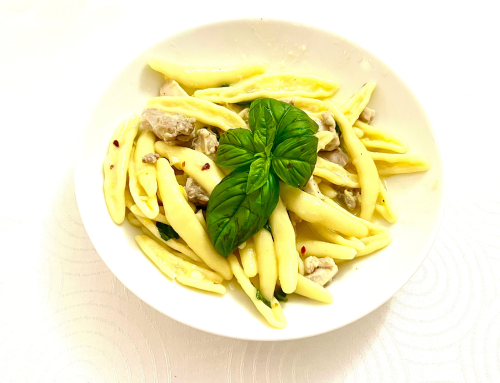
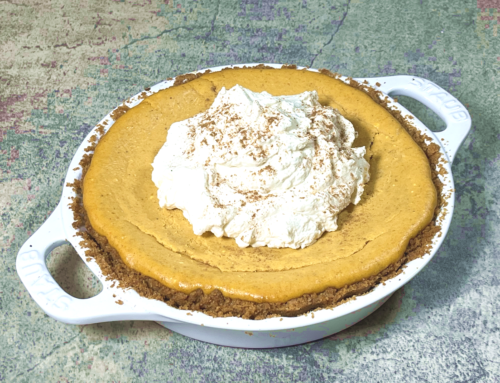
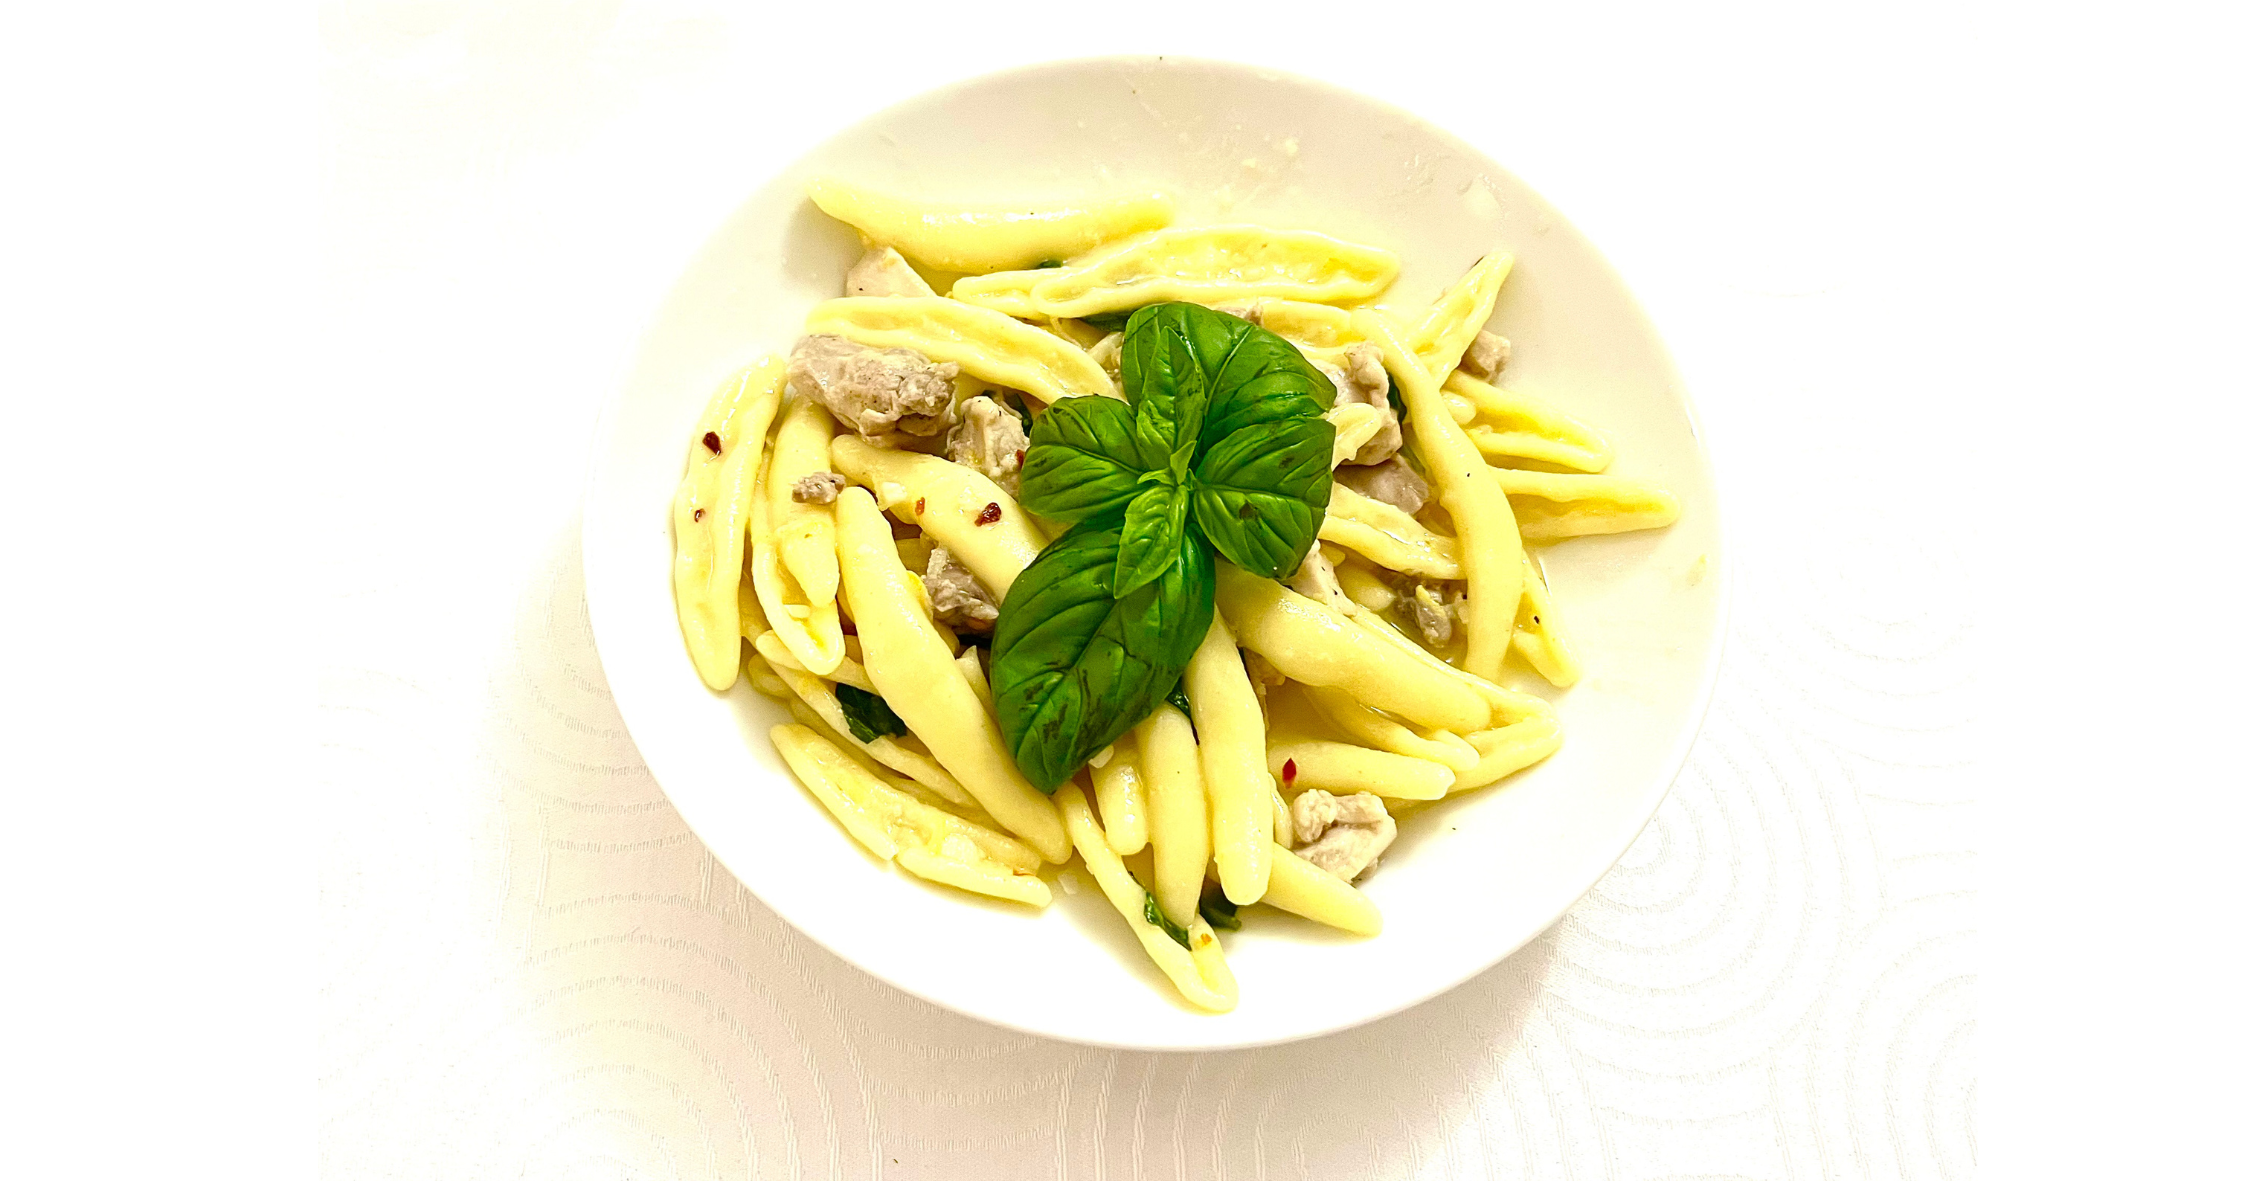
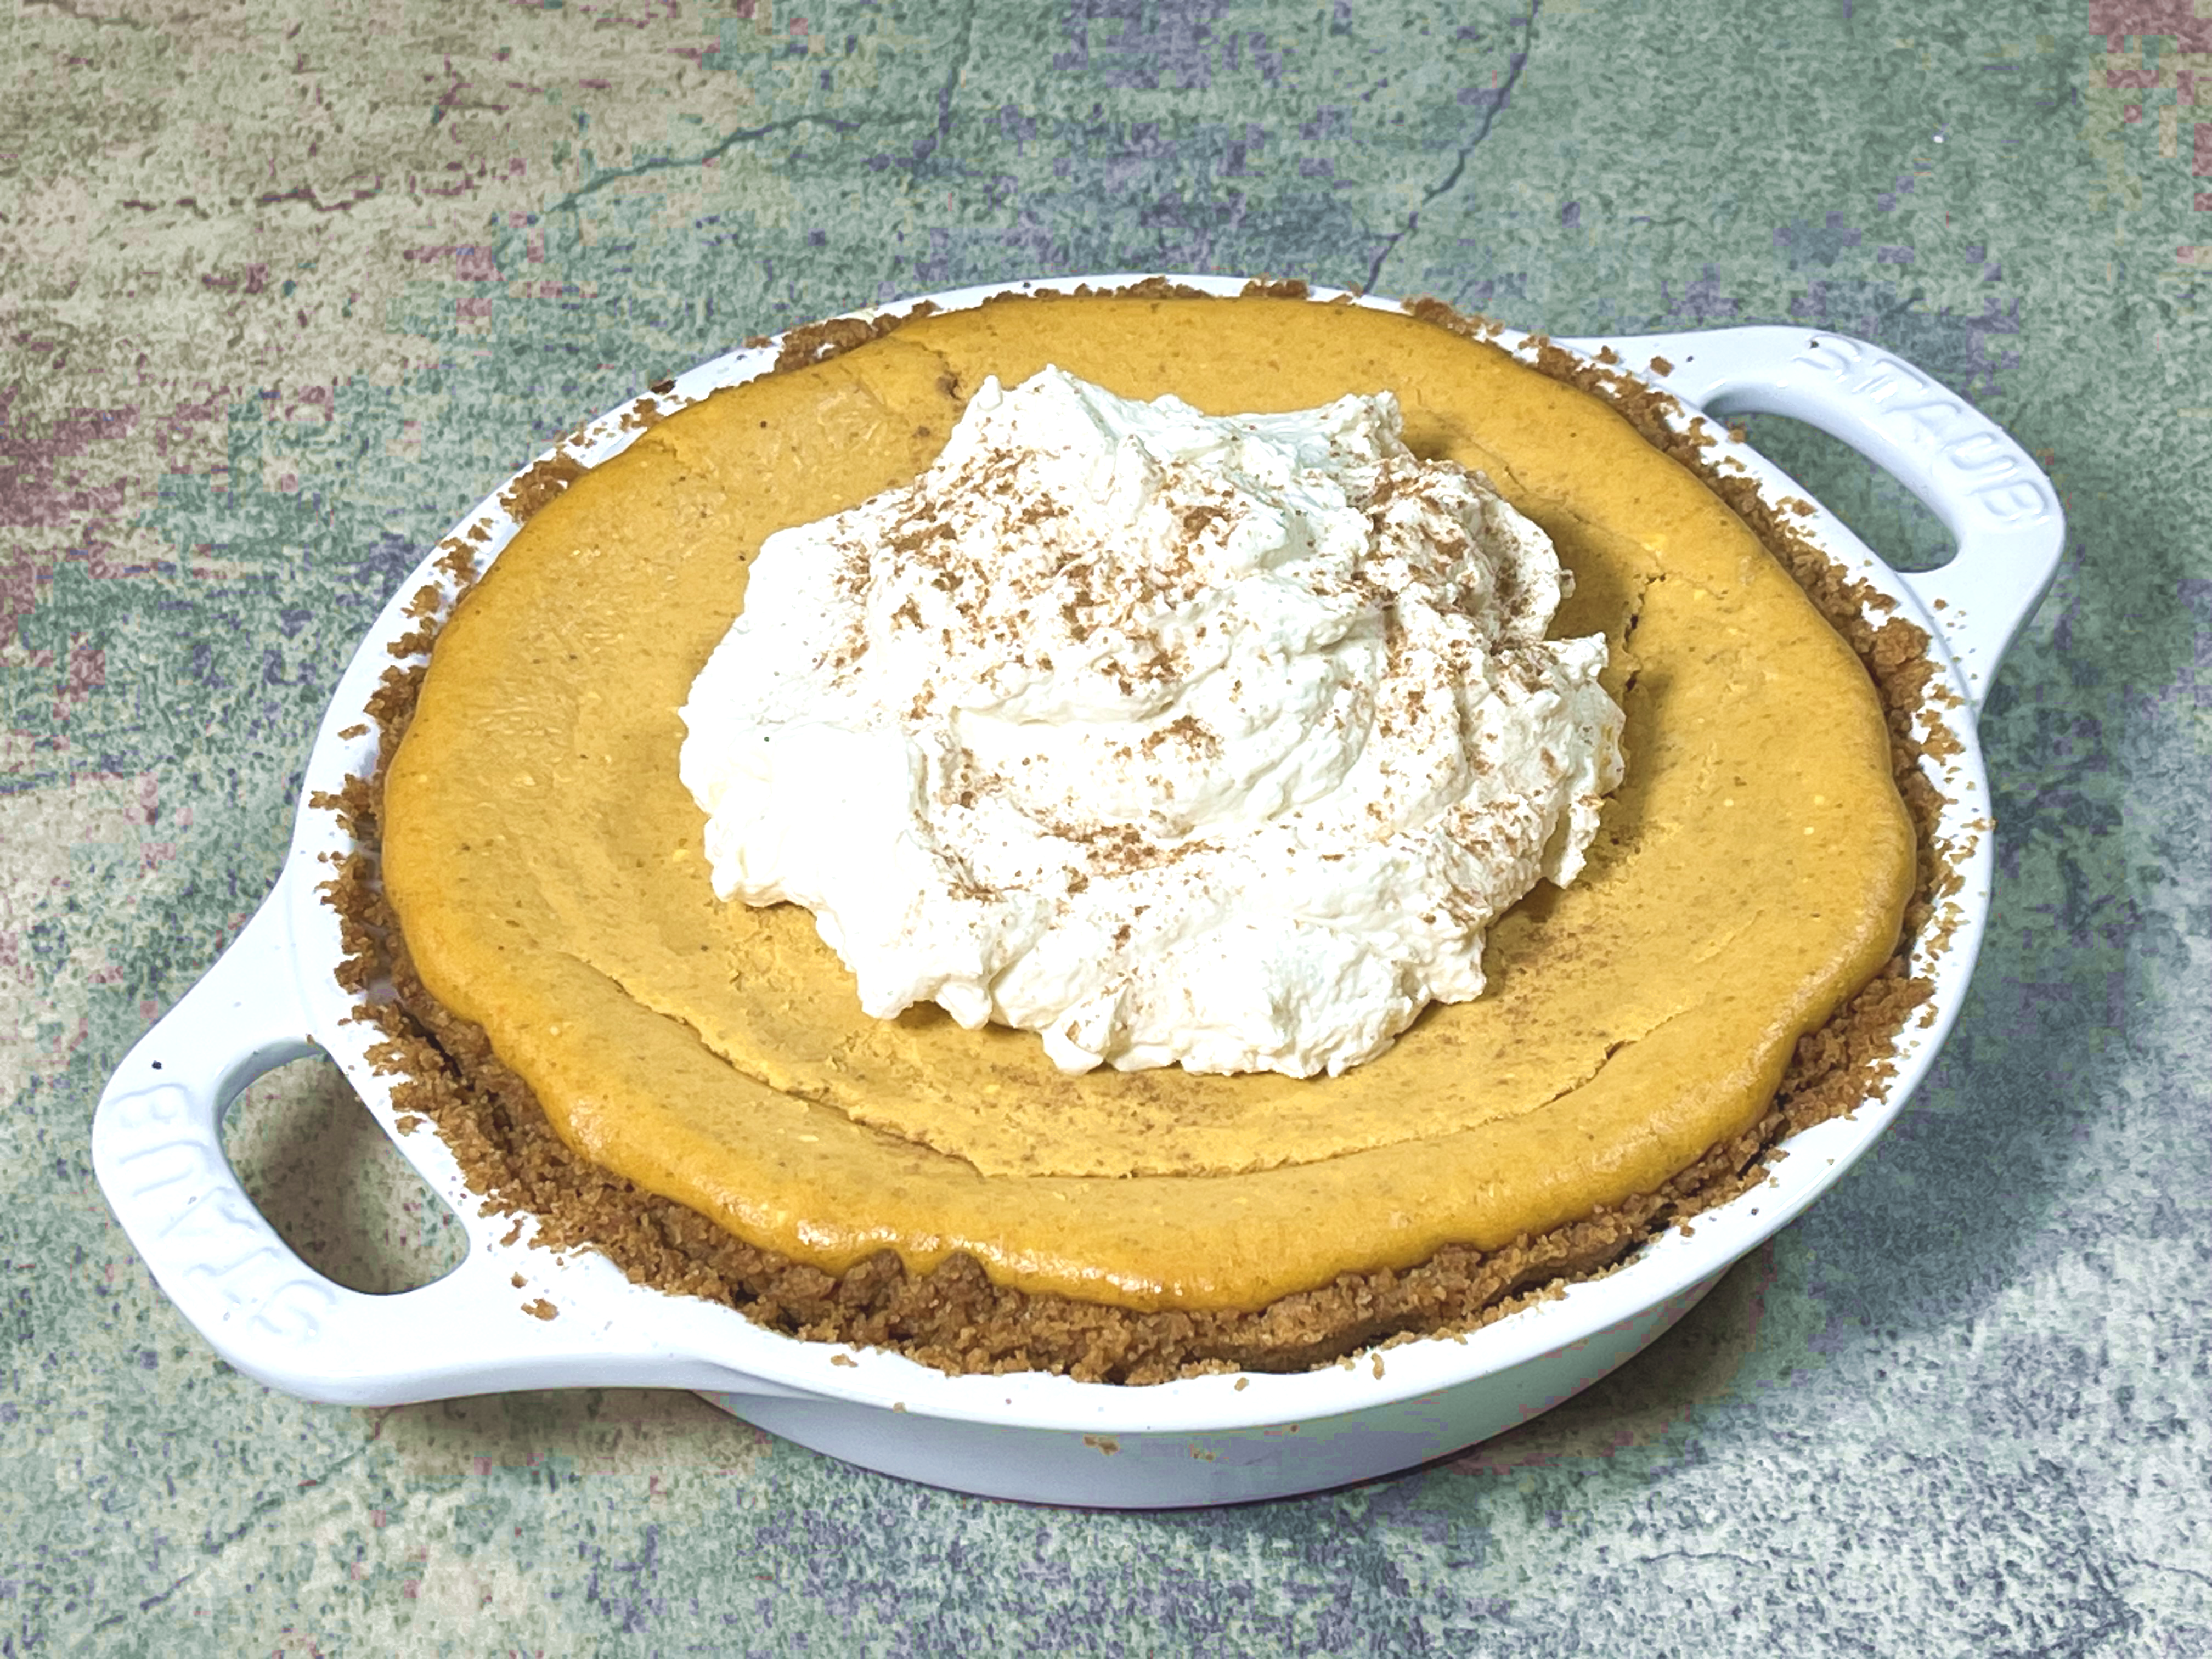
Now you just need to pick your favorite sweet or savory filling and enjoy!
Be sure to try the Green Chile, Ham and Cheese Quiche.
© 2019 Pinot & Pie. All rights reserved.
